Day 2 : Angular - Running your first Angular Application

Developer based in India. Passionate learner and blogger. All blogs are basically Notes of Tech Learning Journey.
Prerequisites
As far as web development is concerned from the point of learning MEAN and MERN stack, Angular is the first step we are currently looking into learning. MEAN stands for (MongoDB - ExpressJS - Angular - NodeJS) whereas MERN abbreviation is almost as same as MEAN only R stands for ReactJS.
But we will only be able to proceed further if and only if we have good knowledge of HTML, CSS, JavaScript and TypeScript etc. Considering I have ample knowledge in the above-mentioned topics, I will proceed to Angular and document the learnings here.
Here is the list of things that we will be needing on our machine before we create our first Angular application:
Node.js: Download the LTS version from the official site of Node.js
  To install node:
      >> https://nodejs.org/en/
      >> Download the installer and run the file
  Note: Node.js installation will also install the NPM
NPM (Node Package Manager)
TSC (TypeScript Compiler)
Angular CLI (Command Line Interface)
  To install angular cli:
      >> https://angular.io/guide/setup-local
      >> npm install -g @angular/cli
Any IDE (I am using VS Code)
To verify all requirements, type these commands in the command prompt:
How to verify all the requirements?
>> node -v
>> npm -v
>> tsc -v
>> ng version
Creating and Running the first Angular Application
Before creating an Angular application, we must create a folder fully dedicated to the Angular workspace as in my case, VS Code works well when it comes to folders. Create a folder for Angular workspace and open VS Code.
After navigating and opening the folder in the IDE, type this to create a new application:
ng new <<app name>>
You may name your app as you like, but make sure it is relevant to what you create. After your app is created, run it. To run the application, type this:
ng serve
This will launch your angular app. It will display in the terminal that your application is running on localhost 4200. If you follow that link, you should get the output as shown below.
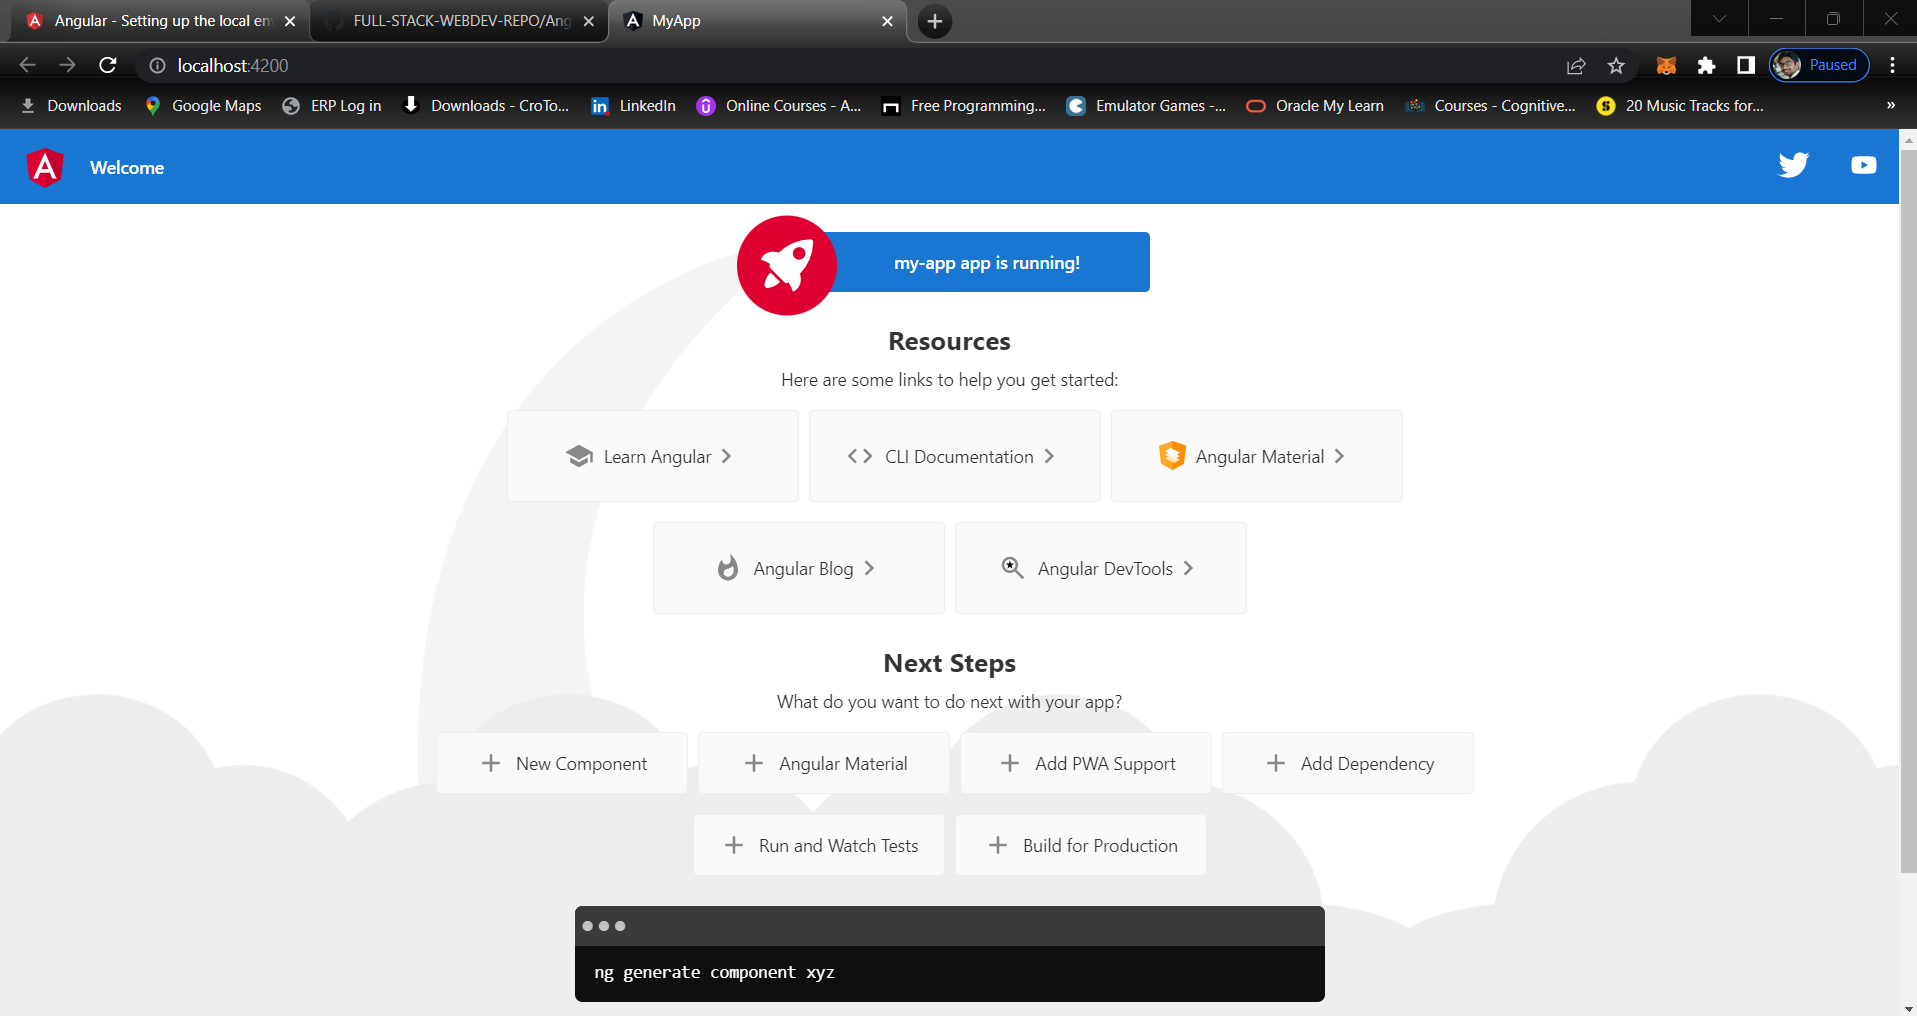
The important thing to remember is that the name of the default component in our created application is app-component. It is the root component of any Angular application.
It contains:
    app.component.css           => Code for styling the page
    app.component.html          => Structure of the page
    app.component.spec.ts       => Code for unit testing
    app.component.ts            => Component class implementation
Creating a component
As we are all aware that an Angular application may contain many components. We will generate a few components for our applications. To generate new components, use the following command:
>> ng generate component <component-name>
Alternatively you can also use Short form as
>> ng g c <component-name>
For starter I will be creating a component and here is the syntax I used:
ng generate component components/data-binding
Notice that I have added the word components ahead of my component name. That will be the folder in which the component and its files will be created. Note that this folder will be automatically created whenever I execute the above command in the terminal.
So, we have successfully created and run our first angular application. We will be diving deep later on.


