Day 7: MongoDB - All about Replication

Developer based in India. Passionate learner and blogger. All blogs are basically Notes of Tech Learning Journey.
Replication is a concept where you store your copies of data on different servers. This essential feature ensures data redundancy, fault tolerance, and continuous service availability, making MongoDB a robust and reliable database solution. In this article, we will see all about replication and we will also see how to set it up practically.
Replication is a fundamental feature in MongoDB that allows you to maintain multiple copies of your data across different servers. These copies, known as replica sets, consist of a primary node responsible for handling all write operations and one or more secondary nodes serving as read replicas. By creating redundant copies, replication enhances data security and ensures data remains accessible even in the event of hardware failures or other issues.
Replication provides many advantages such as:
Fault Tolerance: In case the primary node fails, one of the secondary nodes is automatically elected as the new primary, enabling your MongoDB deployment to continue running smoothly.
Data Redundancy: Replication creates multiple data copies, reducing the risk of data loss and ensuring data integrity.
Read Scalability: Secondary nodes can efficiently serve read operations, distributing the read load and enhancing overall read performance.
Okay, now let us try to implement the replication in our system. First of all, go to your C drive and create a "data" folder. In this folder, I will create these 3 folders.
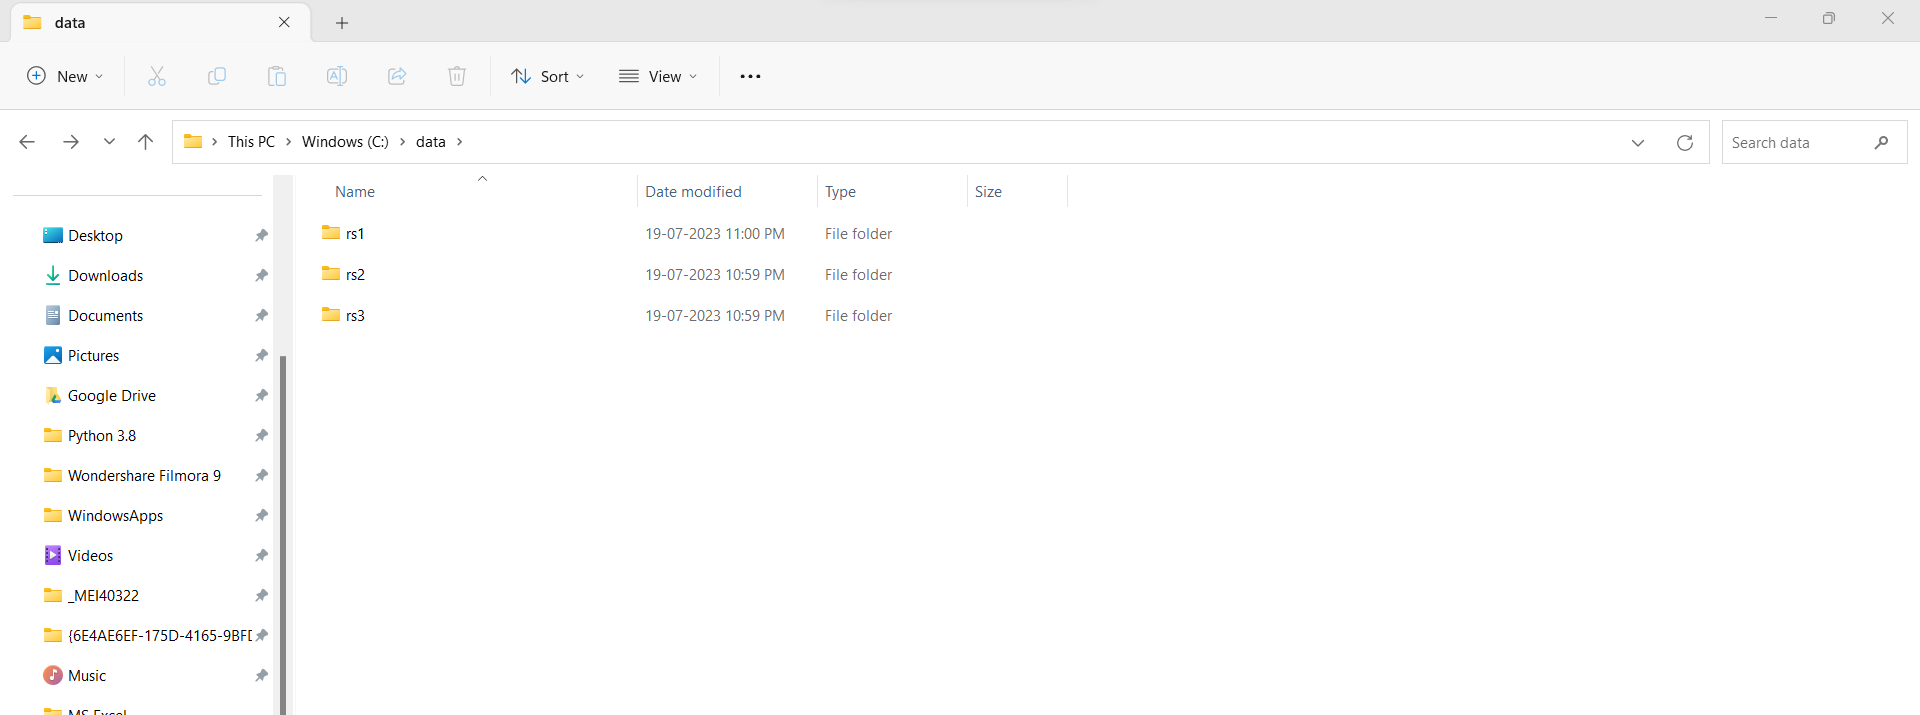
These folders will contain all the logs of the servers we will create; one of the Primary database (rs1) and the other two of the secondary database (rs2 and rs3).

Now understand the thing we are going to do. We are going to demonstrate the concept of replication. The Primary Database will be "localhost:27018" and the secondary ones would be "localhost:27019" and "localhost:27020".
Navigate to your "bin" folder of MongoDB Server via command prompt and type these 3 commands one after another:
start mongod -replSet demo -logpath \data\rs1\1.log --dbpath \data\rs1 --port 27018
start mongod -replSet demo -logpath \data\rs2\2.log --dbpath \data\rs2 --port 27019
start mongod -replSet demo -logpath \data\rs3\3.log --dbpath \data\rs3 --port 27020
To avoid confusion, I will share the screenshot of my command prompt:

This will only start the instances on these ports. The "mongod" command starts the MongoDB server. The "replSet" option is used to specify the name of the replica set, which is "demo" in our case. The "-logpath" is the path where our logs related to each of these instances will be stored. We have created the folders for that earlier. The "--dbpath" option defines the directory where the data files will be stored for each MongoDB instance. The "--port" option specifies the port number for each instance. We are using ports 27018, 27019, and 27020 for our three instances.
Now connect one of the instances and initiate the replica set. We will connect the "localhost:27018" first as it is going to be our primary instance.
Inside our command prompt after firing the above three commands, enter this command:
mongosh --port 27018

As soon as this step is completed, run this config command:
rs.initiate({
...   _id: "rs0",
...   members: [
...     { _id: 0, host: "localhost:27018" },
...     { _id: 1, host: "localhost:27019" },
...     { _id: 2, host: "localhost:27020" }
...   ]
... });
And later check it's status, use this command:
rs.status()
This will output the status of our instances. This will be a long output. But the only way to see we achieved success is that our primary and secondary nodes should be configured properly. So how to check that? Refer the below images:


As you can see, our nodes are configured perfectly. Now time to test it with some dummy data. We will create and use our own database called "testdb". In the same command prompt, fire this command:
use testdb
This will automatically create a database named "testdb". We will try to insert a demo document inside it.
db.testcollection.insert({ message: "Hello, MongoDB replication!" })
Using the above command will create a Collection named "testcollection" inside the "testdb". It will insert a document inside with a message we will use for testing replication.

The data has been stored in the primary node. It is replicated on the backend. But how do we make sure?
Open up another command prompt and navigate to the "bin" folder of mongodb. Now we will start the second instance and check our result:

As you can see, we have started our secondary node. Let us check how many databases we have. If we have "testdb" there, it means we are partly successful.

Oh oh, but what about the error? We cannot view the documents inside the collection. Well, we have to do one small step here:
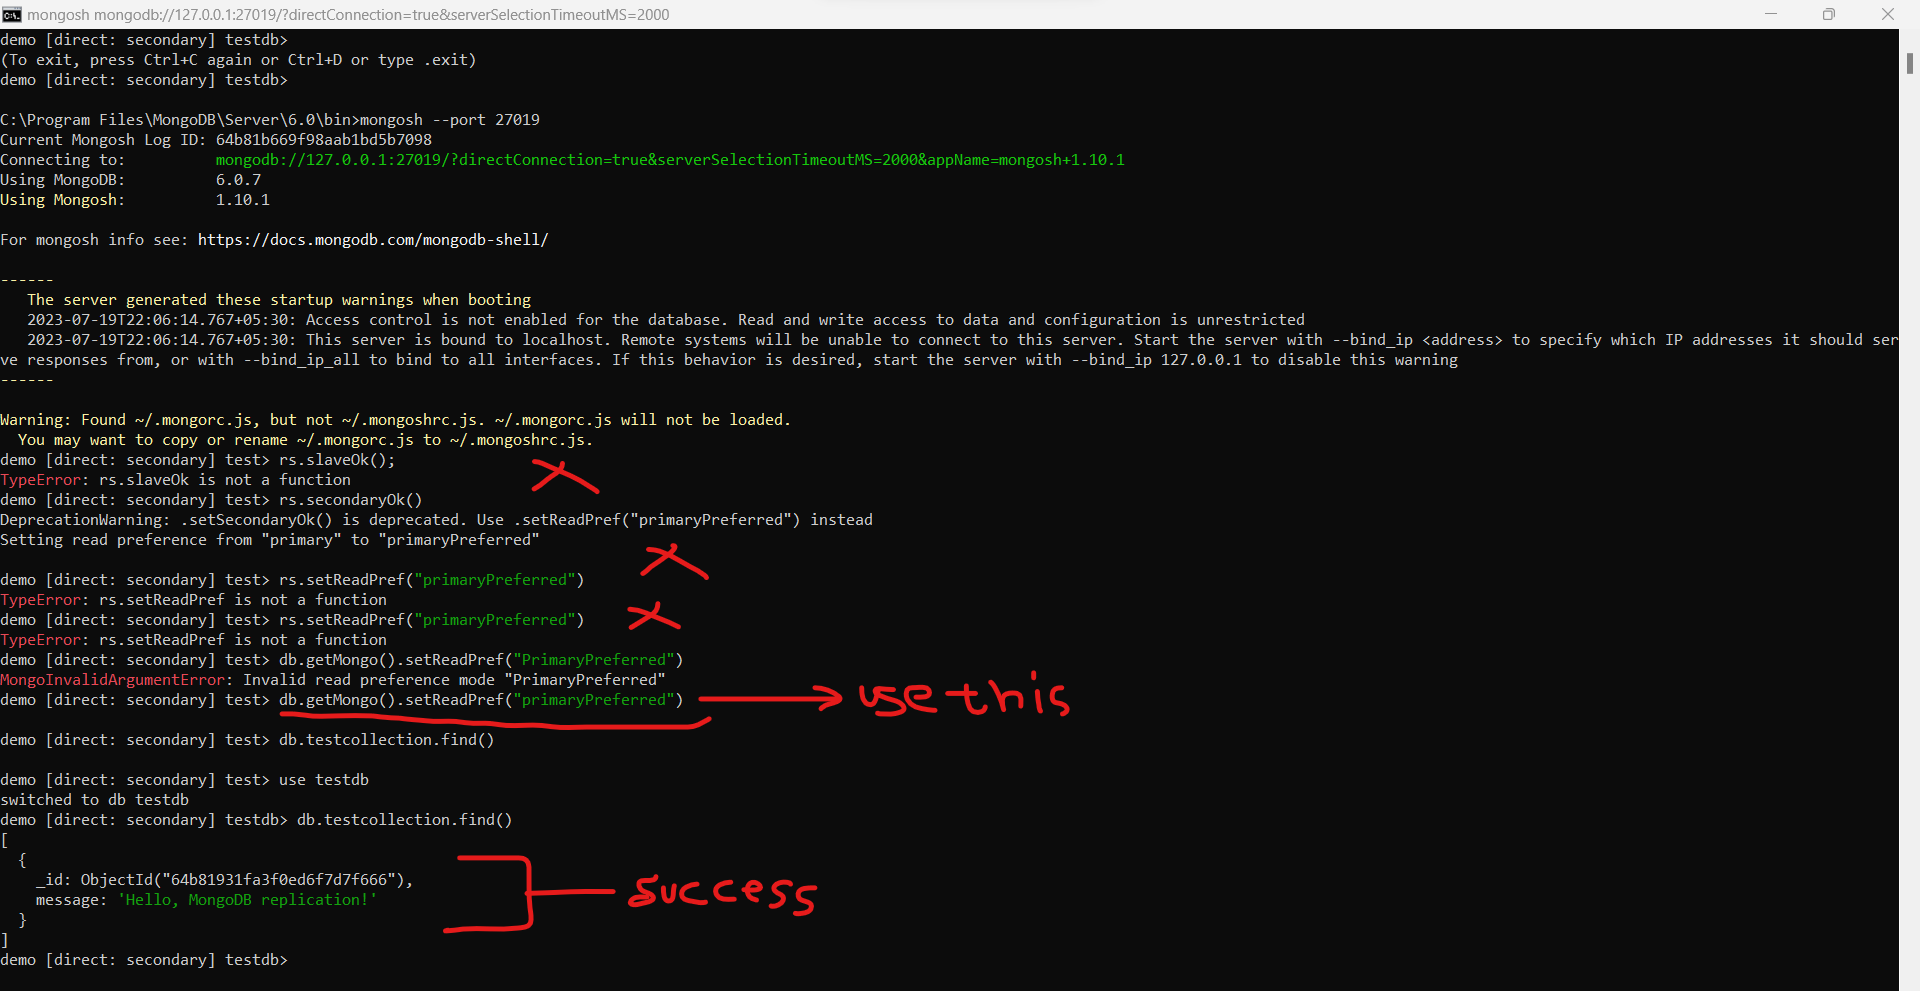
Why did I share the whole command line picture here? Because the rest command is outdated and will not work. There are many resources available online and most of them do not work. Restart the Command prompt and the instance. Then, Use the command which I highlighted. Later when you switch to your "testdb", you will be able to see our demo message. This effectively states that our replication thing was a success and we have implemented it on our machine.
Congratulations! You have successfully set up replication in MongoDB using a replica set. Replication ensures data redundancy, high availability, and automatic failover, making MongoDB a reliable database solution for critical applications. By following the detailed steps and example code provided in this article, you now have a solid foundation to deploy and manage replica sets to enhance your MongoDB deployment's robustness and reliability.
Understanding High Availability in MongoDB:
High Availability is a measure of how well a system remains operational even when some of its components fail. MongoDB achieves High Availability through replica sets, where multiple nodes hold redundant data copies. When the primary node fails, MongoDB automatically promotes one of the secondary nodes to become the new primary, ensuring continuous data availability.
Advantages of High Availability:
Continuous Availability: Even during primary node failures, the replica set ensures that your application remains accessible and operational.
Automatic Failover: MongoDB handles failover automatically, reducing the need for manual intervention during primary node failures.
Reduced Downtime: High Availability minimizes downtime, ensuring your users can access the data without interruptions.
Best Practices for Replication and High Availability:
Deploy at Least Three Members: For robust High Availability, deploy at least three members in the replica set – one primary and two secondaries.
Use Data Center Awareness: If your deployment spans multiple data centers, configure the replica set to include nodes from different data centers to ensure data safety in case of data center failures.
Monitor the Health of Replica Set: Regularly monitor the status of your replica set to ensure all nodes are healthy and replication is functioning correctly.
Plan for Growth: As your application and user base expands, plan to add more secondary nodes to scale read capacity and handle increasing load.
Replication and High Availability are crucial components of MongoDB's architecture, ensuring data redundancy, fault tolerance, and continuous service availability. By setting up replica sets and adhering to High Availability best practices, you can ensure that your MongoDB deployment remains resilient and capable of handling failures gracefully. Embracing these powerful features empowers your application with data reliability and availability, making MongoDB an ideal choice for scalable and reliable database solutions.


