Day 9: NodeJS - Creating our own REST API

Developer based in India. Passionate learner and blogger. All blogs are basically Notes of Tech Learning Journey.
What's a REST API?
REST stands for "REpresentational State Transfer". Whenever a client wants to connect to the server, the client can do so with the help of these REST endpoints which are given by the server. The server provides REST endpoints so that the client is going to use them for connection.
An endpoint is exactly similar to Sockets which are present in our home. A client just connects to it to use further services. It is like a URL that represents a particular resource. Also, whenever we talk about REST API anytime, it is mostly about CRUD operations.
CRUD operations
    Create   -> POST
    Read     -> GET
    Update   -> PUT
    Delete   -> DELETE
Endpoint example:
 http://www.website.com/api/employees
 [All operations on this employees will use this endpoint]
Let us dive deep into detailed examples of CRUD operations using Endpoint. We will see what kind of data is read when it is entered in Endpoint and what response the server gives to it.
[GET EMPLOYEES (READ)]
Read :- http://www.website.com/api/employees
Response :- Data of all employees in JSON format
[GET A SINGLE EMPLOYEE]
Read :- http://www.website.com/api/employees/1001
Response :- Data of the specified employee with id = 1001 in JSON format
[POST AN EMPLOYEE (CREATE)]
Read :- http://www.website.com/api/employees &
Pass JSON data (JSON payload; roughly means any data which is sent along with a request) to be added (in request body)
Response :-  Data of newly added employee in JSON format
[PUT AN EMPLOYEE (UPDATE)]
Read :- http://www.website.com/api/employees &
Pass JSON data to be updated (in request body)
Response :- Data of updated employee in JSON format
[DELETE AN EMPLOYEE (DELETE)]
Read :- http://www.website.com/api/employees/1004
Response :- Deletes the employee with id = 1004
This is typically how a REST API works, or we can say it is implemented. Now we will try to create our REST API.
Create a new folder. I have done so and named the folder "rest-api".
We will install the following required modules: Install required modules (express,dotenv, and nodemon). Don't forget "npm init" before you install these modules.
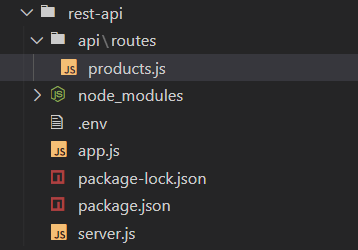
Create a ".env" file as we created previously. Also, a JavaScript file in which we will do some code. Your folder structure should be like this:

In server.js, we will try to see for starting purposes if our server is working properly or not.
require(dotenv).config()   // So env variables are made avaialable using process keyword
const http = require('http');

const port = process.env.port;
const host = process.env.host;

const server = http.createServer((req,res)=>{
    if(req.url == '/'){
        res.write("Hello World")
        res.end()
    }
})

server.listen(port,()=>{
    console.log(`Server started at ${host}:${port}`)
})
Executing the above file gives us the output that our server works. Now we will try to push a request to the server using ExpressJS.
Create another file "app.js".
// We are going to use express in this file
const express = require('express');
const app = express();

app.use((req,res)=>{
    res.status(200).json({
        msg: "This is a simple GET Request"
    })
})

module.exports = app    //Exporting, so now to use this into server
Export it later to be used in the server. To use it on the server, we need to do the following changes.
// Import the exported app module
const app = require('./app')
// Create the app
const server = http.createServer(app)
So have a look at the updated code of the server.js. The commented part is our old way we did it previously.
require('dotenv').config()   // So env variables are made avaialable using process keyword
const http = require('http');

const port = process.env.port;
const host = process.env.host;

const app = require('./app')

// const server = http.createServer((req,res)=>{
//     if(req.url == '/'){
//         res.write("Hello World")
//         res.end()
//     }
// })

const server = http.createServer(app)

server.listen(port,()=>{
    console.log(`Server started at http://${host}:${port}`)
})
If we run it, we can see on the server that a request is generated. But we will not show this thing to users always.
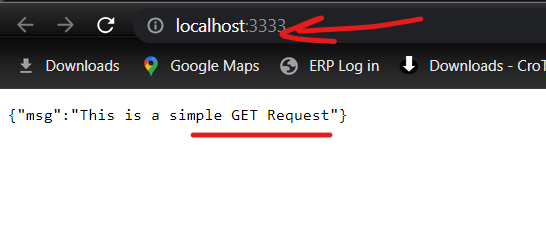
So there are two ways here to test our rest-API.
Install Thunder Client plugin for VS Code
Use POSTMAN
We will be using the first way to do so. My server in my case, is running on localhost:3333. Now I will be putting its link into Thunder Client to test it.
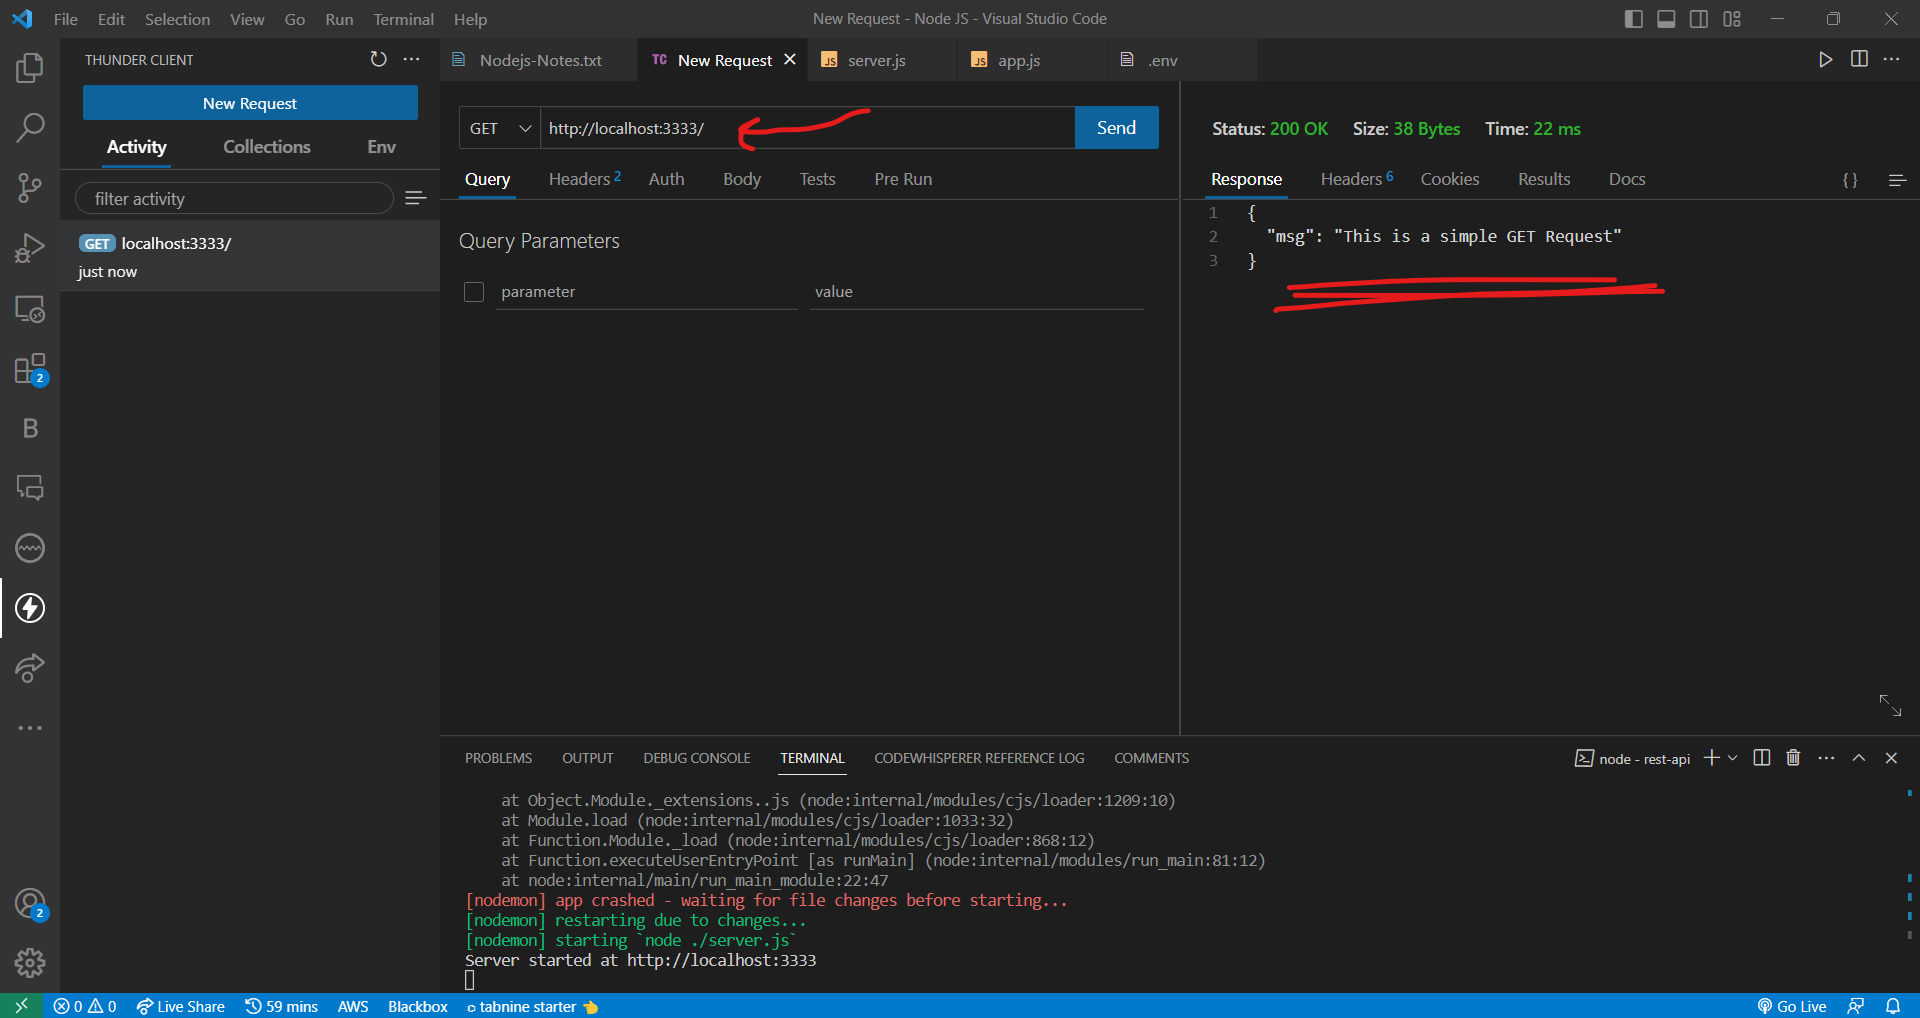
Thus we can see that our rest-API works and is up and running. This was a demo. Now we will be actually implementing it. This is our target design.
/products                  /orders
GET    POST                GET      POST

/products/{id}           /orders/{id}
GET  PUT  DELETE         GET  PUT  DELETE
We will be using Mongo Atlas for storing our data for now. MongoDB is typically easy to learn as there are not many concepts as compared to SQL. We will be creating the database there and using it.
Before doing so, let us make sure that JavaScript code files are ready for server operation. We will be perofmring routing operations for products.
Create a folder named "api" followed by one more folder inside it as "routes". In routes folder, create products.js.
Inside products.js, we are testing the handling of GET and POST requests.
const express = require('express')
const router = express.Router()

// Handle GET requests for products
router.get('/',(req,res)=>{
    res.status(200).json({
        msg: "This is a GET request for products"
    })
})

// Handle POST requests for product
router.post('/',(req,res)=>{
    res.status(200).json({
        msg: "This is a POST request for products"
    })
})

module.exports = router
Here is our updated server.js file below. This is the server that we are revolving around. The change we did is to remove the old code which signifies the successful execution of the first GET request we saw earlier. That is because, the requests related to products, will be coming on different routes i.e. on the route "/products".
require('dotenv').config()   // So env variables are made avaialable using process keyword
const http = require('http');

const port = process.env.port;
const host = process.env.host;

const app = require('./app')

// const server = http.createServer((req,res)=>{
//     if(req.url == '/'){
//         res.write("Hello World")
//         res.end()
//     }
// })

const server = http.createServer(app)

server.listen(port,()=>{
    console.log(`Server started at http://${host}:${port}`)
})
And lastly, here is our "app.js".
// We are going to use express in this file
const express = require('express');
const app = express();

const productsRouter = require('./api/routes/products')

// app.use((req,res)=>{
//     res.status(200).json({
//         msg: "This is a simple GET Request"
//     })
// })

app.use('/products', productsRouter)

module.exports = app

// Now to use this into server
We created a products Router and gave it the path to our products.js. Now let us understand the workflow between these three files, (products.js, server.js, app.js).
The first thing to understand is that our server.js, in easy summarization, our server is working well and well. Whenever there will come a request, we go into the app.js and inside the app, it is clearly stated that when the routing path is "/products" then use the product Router we created.
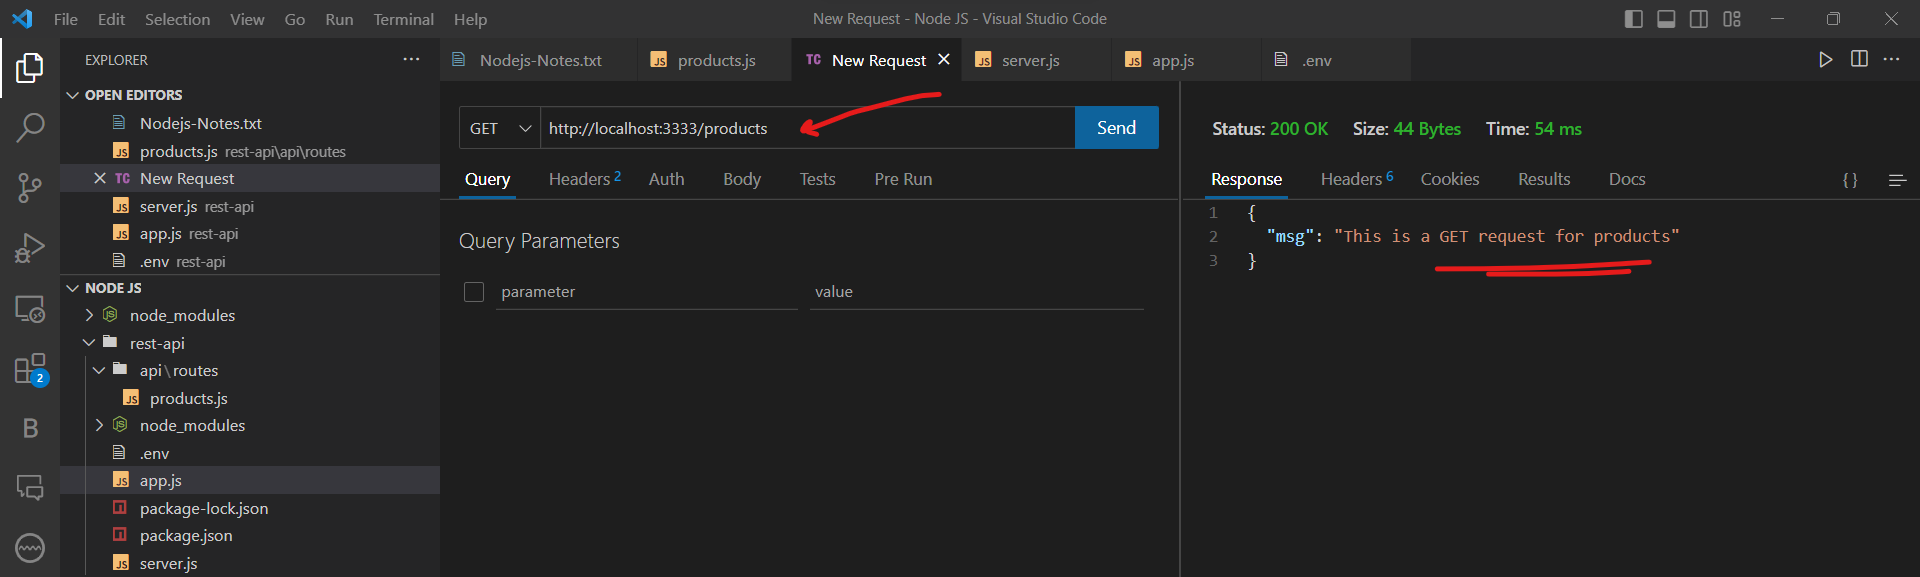
Now moving on to "products.js", if we send something via GET request, we will get the corresponding message.
If we send something like this via POST, then we get this.
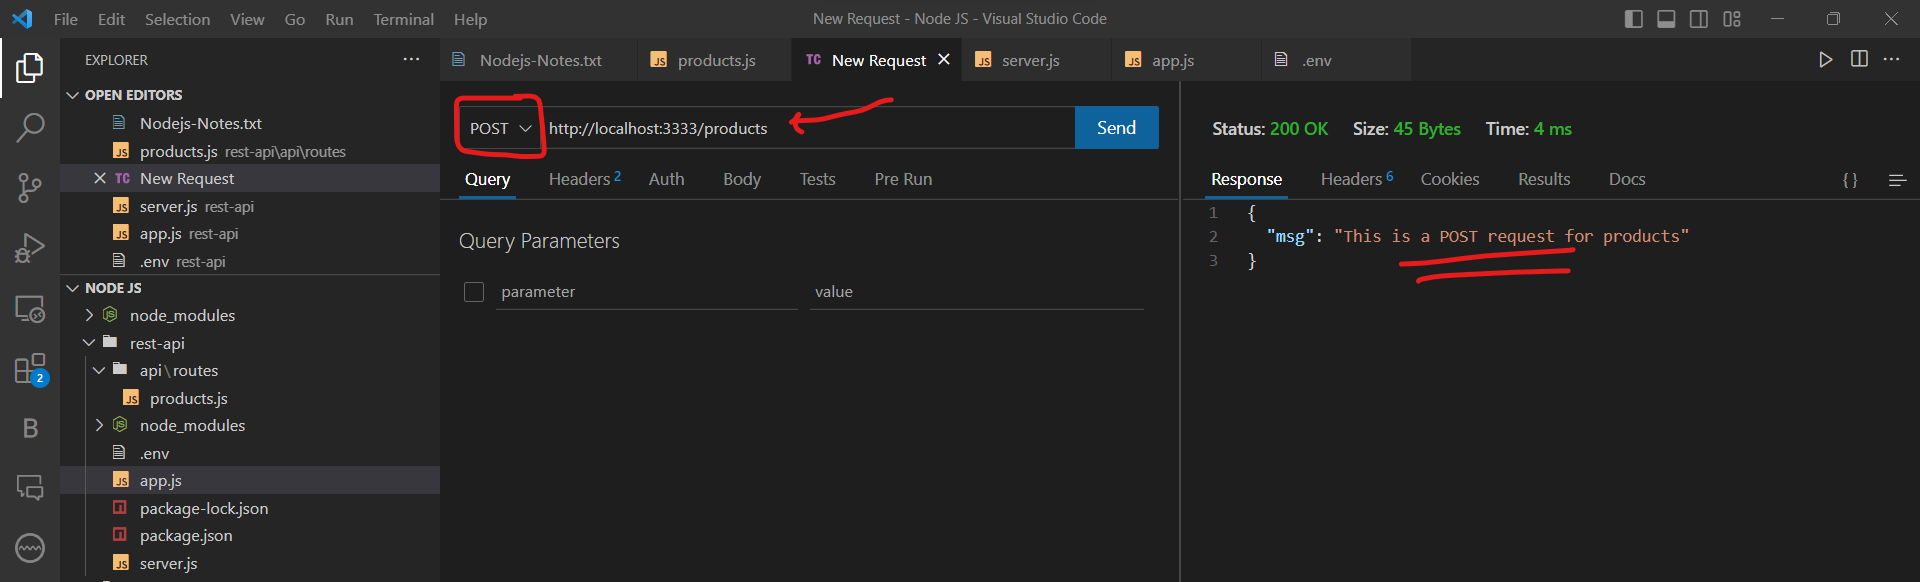
Suggesting that our api works.
Lets play with it more. This thing we did, is for multiple products. But what if we need to do the same thing for single product? This time, id of the product comes into picture. Later on we can also do PUT and DELETE opeartion on it as a result.
We need to following chunk of code into our products.js file.
// Handle GET requests for SINGLE product
router.get('/:productId',(req,res)=>{
    res.status(200).json({
        msg: "This is a GET request for a SINGLE product"
    })
})
Now to test it.
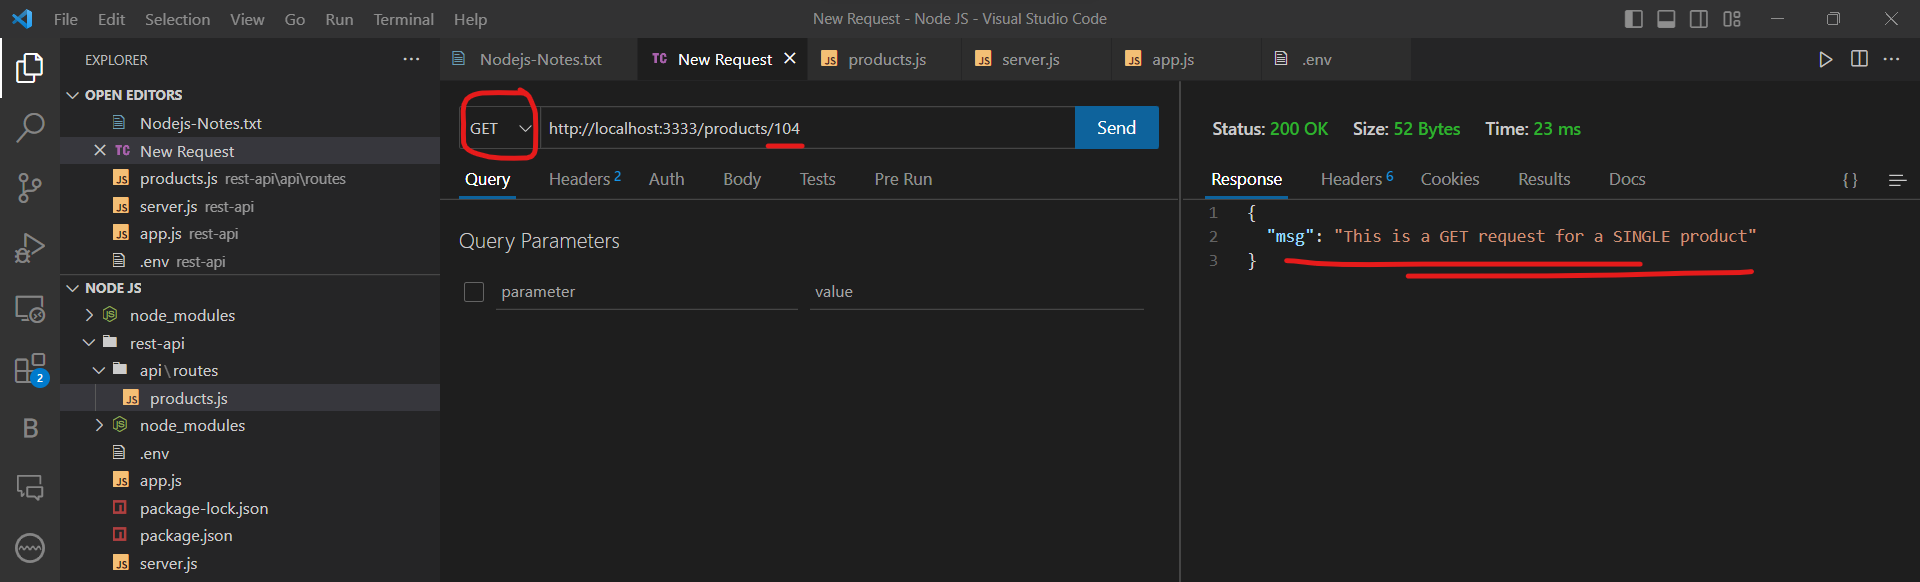
Let us try reading the id number we are passing. We can do so by making a slight change in our last code segment.
// Handle GET requests for SINGLE product
router.get('/:productId',(req,res)=>{

    const id = req.params.productId

    if(id == 999){
        res.status(200).json({
            msg: "999 IS A SPECIAL ID"
        })
    }
    else{
        res.status(200).json({
            msg: "A REGULAR ID, NOTHING SPECIAL"
        })
    }
})


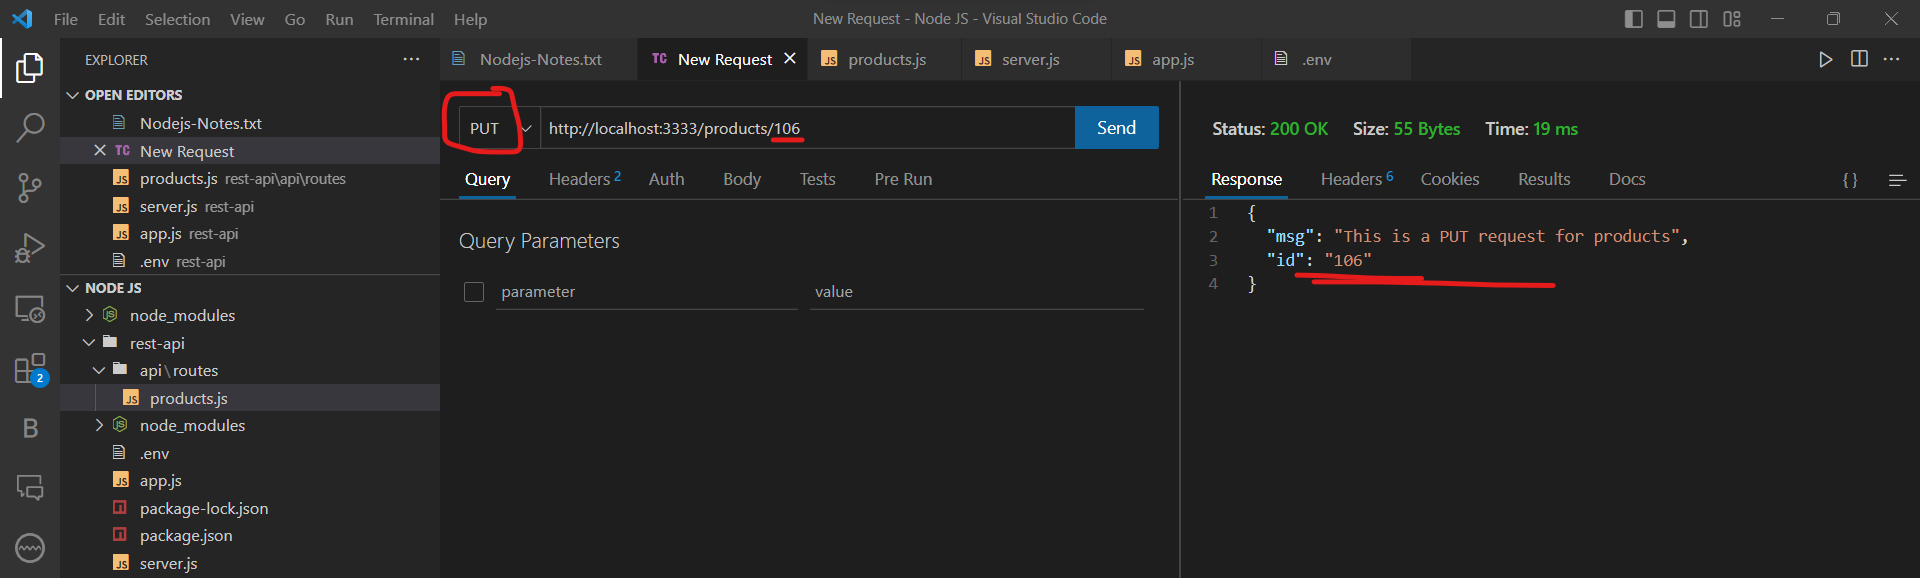
Now what remains is the operation of PUT (Update) and DELETE (Delete). Let us get back to our products.js for code.
// Handle PUT requests i.e I want to make some changes to data of the product {UPDATE}
router.put('/:productId',(req,res)=>{

    const id = req.params.productId

    res.status(200).json({
        msg: "This is a PUT request for products",
        id: id
    })

})
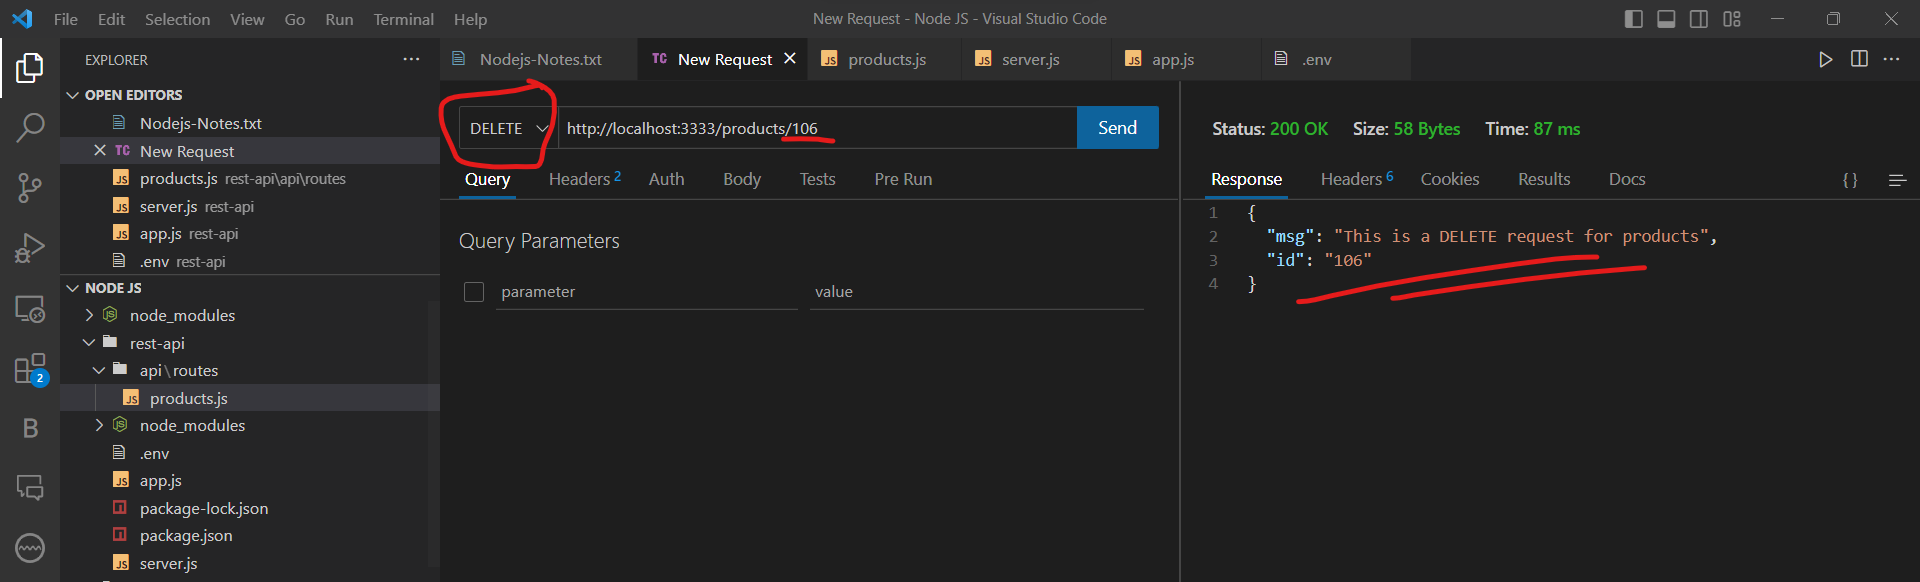
Now to handle the DELETE.
// Handle DELETE requests i.e I want to remove a product {DELETE}
router.delete('/:productId',(req,res)=>{

    const id = req.params.productId

    res.status(200).json({
        msg: "This is a DELETE request for products",
        id: id
    })

})
This is enough to test that all the functions we wrote in our rest-API are working perfectly. But still few things are missing here.
Let us a command which will start our application. To do so, follow these steps:
Go to package.json
Add the following command (under scripts): "start": "nodemon server.js"
Now we will just say "npm start" whenever we want to run our app
Morgan Library
A Morgan Library is a third-party library that allows us to see the HTTP requests (to log the HTTP request information). To install it, just type:
npm i morgan
Later we need to make some changes to our "app.js".
const morgan = require('morgan');
app.use(morgan("dev"))  // The dev is format in which we need our log output
Now we will just fire up some random GET and POST requests via Thunder Client and check out our console.

As you can see, the request we fired up, gets logged onto our console. This is what a Morgan library does.
Thus we have successfully tested the working of our REST-API and hopefully we will implement it later on.


